Introduction
Follow this guide to replace the touchpad in your Microsoft Surface Laptop 5 (13.5-inch).
If your battery is swollen, take appropriate precautions.
Some photos in this guide are from a different model and may contain slight visual discrepancies, but they won't affect the guide procedure.
What you need
-
-
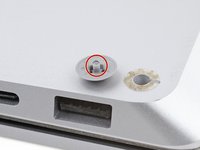
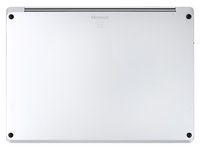
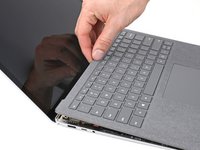
Close the screen and lay your laptop down with the rear case facing up to access the four rubber feet.
-
-
-
The back feet recesses are closest to the back edge of the laptop.
-
The front feet recesses are closest to the front edge of the laptop.
-
-
-
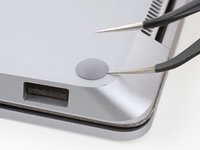
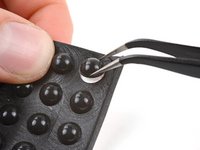
Insert one arm of your tweezers into the recess of one of the feet.
-
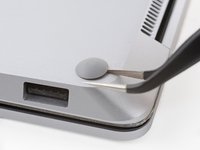
Twist your tweezers and pry up to separate the adhesive and unclip the foot from the laptop.
-
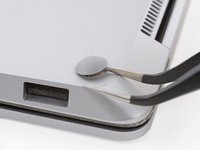
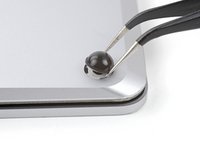
Remove the foot.
-
Repeat this process on the remaining feet.
-
-
-
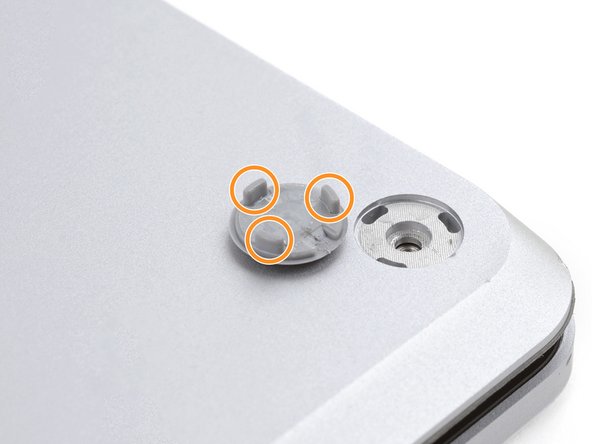
The rear feet have a single center clip.
-
The front feet have three clips and can only be reinserted one way.
-
If the existing feet no longer adhere to the frame, remove the old adhesive and apply a small amount of Tesa Tape where the old adhesive was.
-
-
-
Use a T5 Torx driver to remove the four 3 mm screws securing the upper case.
-
-
-
-
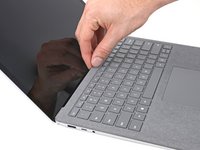
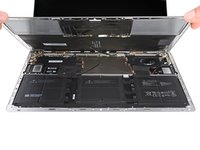
Grip the top edge of the upper case above the keyboard and lift straight up to release it.
-
Lift the bottom edge of the upper case up and away from the laptop, taking care to not strain the ribbon cable underneath.
-
-
-
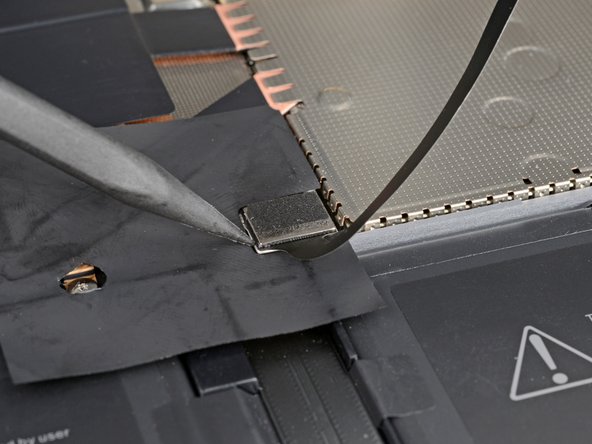
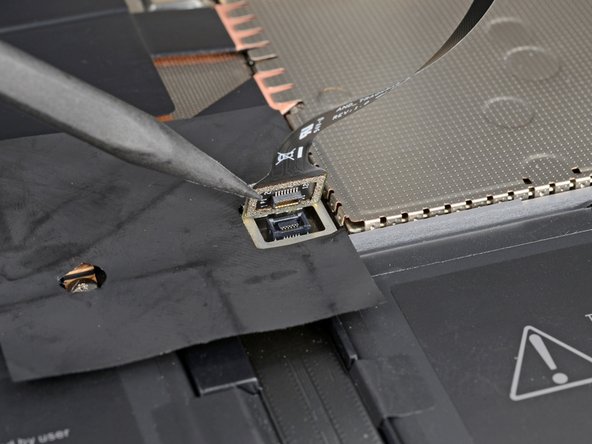
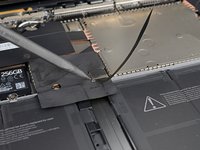
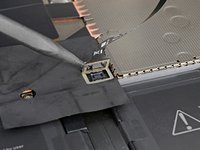
Insert the pointed end of a spudger under one edge of the magnet connector and pry up to disconnect it.
-
-
-
Remove the upper case and set it keyboard-side down on a clean surface.
-
-
-
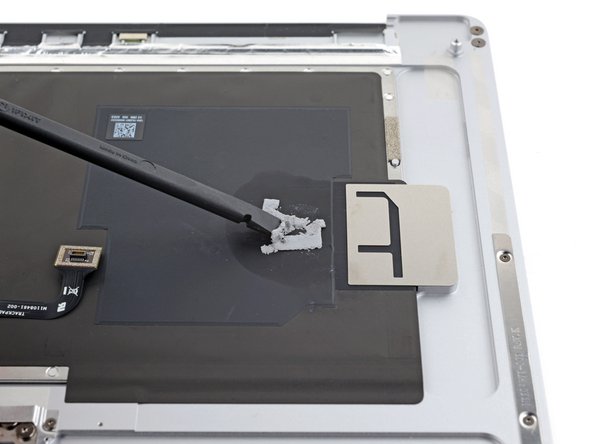
Use the flat end of your spudger to scrape away old thermal paste from the top of the SSD and the underside of the upper case.
-
Apply a few drops of highly-concentrated isopropyl alcohol (over 90%) to the SSD and upper case. Wipe away the residue using a lint-free or microfiber cloth.
-
Replace the thermal pad with one that's the same size as the SSD sticker.
-
-
-
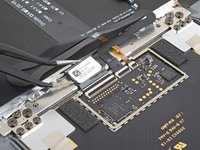
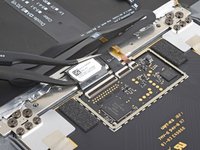
Use a T3 Torx driver to remove the eight 1.9 mm screws securing the touchpad cover.
-
-
-
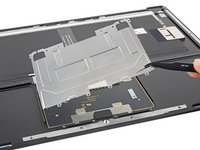
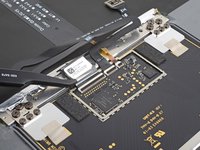
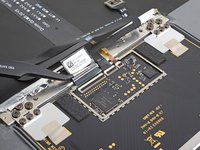
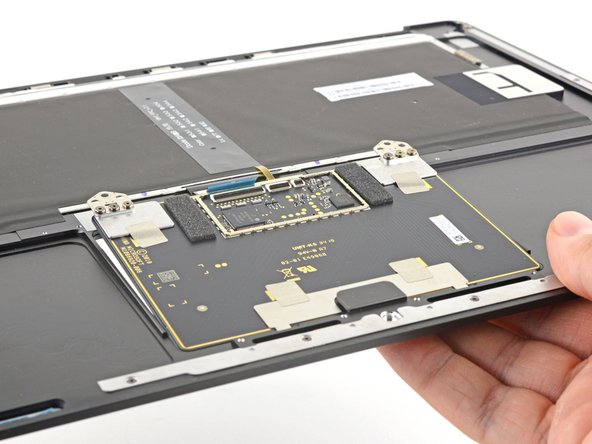
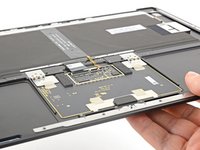
Insert one arm of your tweezers under the corner of the touchpad shield.
-
Gently pry up to release the clips securing the shield.
-
Repeat this process around the perimeter of the shield until you can remove it.
-
-
-
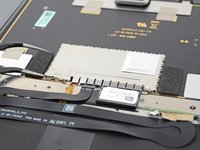
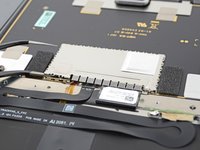
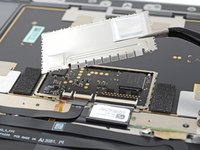
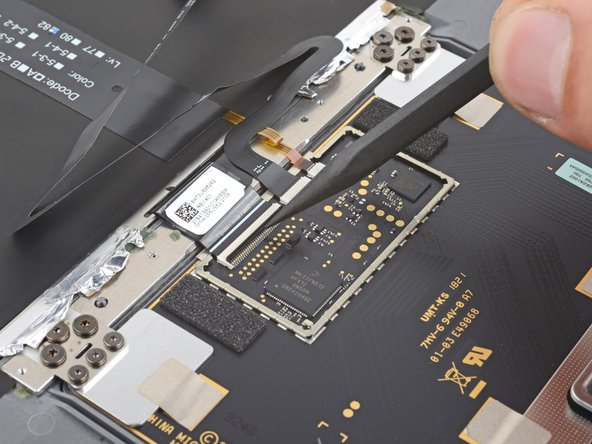
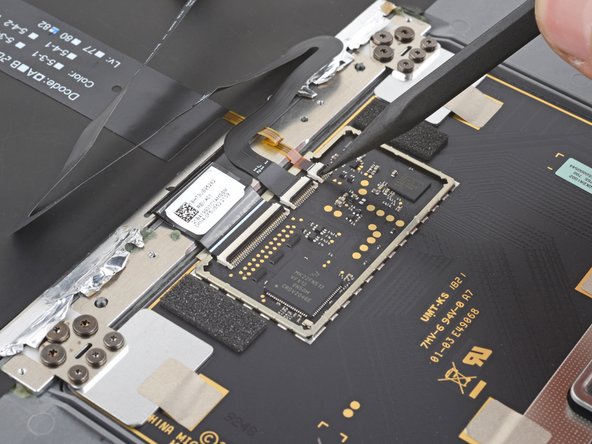
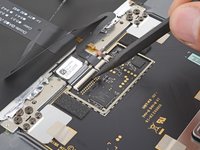
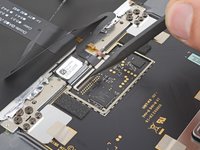
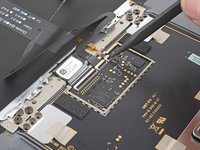
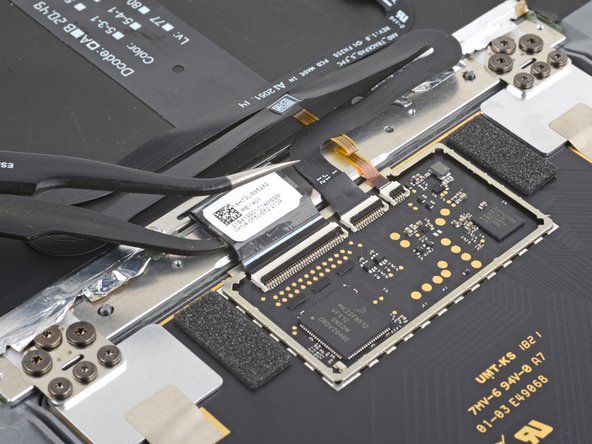
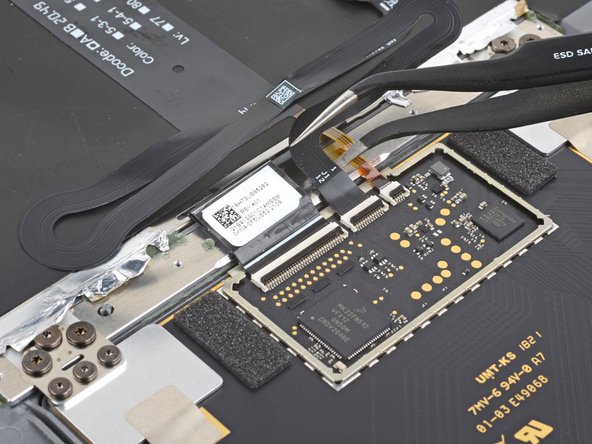
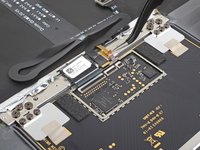
Use the pointed end of a spudger to lift the locking flaps on the three ZIF connectors on the touchpad.
-
-
-
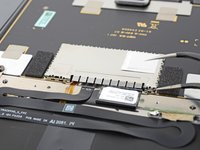
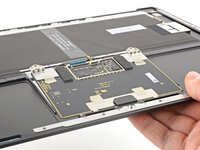
Use a T5 Torx driver to remove the six 3.1 mm screws securing the touchpad.
-
-
-
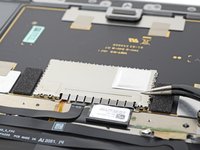
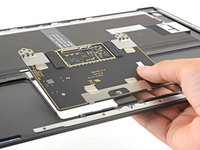
Push the touchpad up through the case and slide it towards the keyboard, freeing it from its front tab.
-
Remove the touchpad.
-
When lowering the touchpad into place, make sure all ribbon cables are out of the way.
-
Make sure the touchpad is under its front tab and the other two securing tabs are in place.
-


Compare your new replacement part to the original part—you may need to transfer remaining components or remove adhesive backings from the new part before installing.
To reassemble your device, follow these instructions in reverse order.
Take your e-waste to an R2 or e-Stewards certified recycler.
Repair didn’t go as planned? Try some basic troubleshooting, or ask our Answers community for help.